

Fancy yourself a bit of a DIY enthusiast? Here at Dunster House, we reckon there’s nothing quite as satisfying as crafting your own little slice of outdoor paradise. That’s why we’ve put together this handy guide packed with DIY tips to help you nail your garden building DIY project.
So, if you’ve got one of our fantastic timber structures on its way (or you’re dreaming of getting one!), this is your go-to for tips for your DIY building project. Let’s get started!
1. Know Your Instruction Manual: Your Garden Building DIY Guide
Before you even think about picking up a hammer, grab that instruction manual! We know, we know, it might not be the most thrilling read, but trust us, it’s your best friend when it comes to garden building DIY. Think of it as your personal guide to how to build a garden building the Dunster House way.
Don’t be tempted to just “wing it.” These manuals are packed with crucial details that will ensure your build is sturdy and looks fantastic. And for those of you wondering where to find your manual, you can always find a digital copy in your customer login area.
DIY Tip: Print out your manual and pop it in a waterproof folder. Nothing worse than a soggy instruction sheet when you’re in the middle of your garden building DIY adventure! Grab a pen too – jot down any notes or cunning plans.
2. Inventory is Your Friend: A Before You Build DIY Garden Building Tip
We know you’re itching to get started on your garden building DIY adventure, but trust us on this one: take the time to do a proper inventory. Knowing exactly what you have and what you don’t is essential. There’s nothing more frustrating than being halfway through your build and realizing a key component has been misplaced!
It’s also worth familiarizing yourself with all the different pieces. Some might look similar at first glance, so take the time to identify each part properly.
DIY Tip: Grab some sticky notes while you’re doing your inventory. Labelling each component can save you a lot of head-scratching later on. If you spot pieces that look very similar, note down the subtle differences – it’ll make the building process much smoother.
3. Step Back and Admire (Regularly!): Essential DIY Tips for a Smooth Build and Spotting Mistakes
It’s easy to get laser-focused when you’re in the thick of your garden building DIY project. You’re in the zone, muscles are working, progress is being made and that’s brilliant! But remember to take a breather. Frequent breaks aren’t just for enjoying a cuppa (though that’s definitely a bonus!). They give you a chance to step back and really look at what you’ve achieved so far.
This little pause can be a game-changer. You might spot a slight misalignment or a detail you overlooked when you were right up close.
DIY Tip: A fresh pair of eyes – someone not directly involved in the build might just notice something you’ve missed. It’s all part of smart garden building DIY!
4. Keep it Straight, Keep it Level: The Best Foundation of a Good DIY Garden Building
This isn’t just a good life motto; it’s the absolute foundation of any successful garden building DIY project. From the very first foundation to the final roof panel, ensuring your structure is square and level is non-negotiable.
We know, stopping to measure diagonals and check levels might feel like it’s slowing you down. But believe us, the frustration of discovering a wonky shed at the end will be far more time-consuming (and annoying!) to fix. This is a key DIY tip we can’t stress enough!
DIY Tip: Spotted a warp in your timber? Don’t panic! For minor bends, you can try clamping it with weight to coax it back into shape. For more stubborn warps, wetting the wood and weighting it down on a flat surface can work wonders (just make sure it’s completely dry before you build!).
Check out our blog for more in-depth advice on tackling those natural timber quirks. If you’re in a hurry, you can sometimes strategically place slightly warped pieces at the bottom where the weight of the building will help keep them in place.
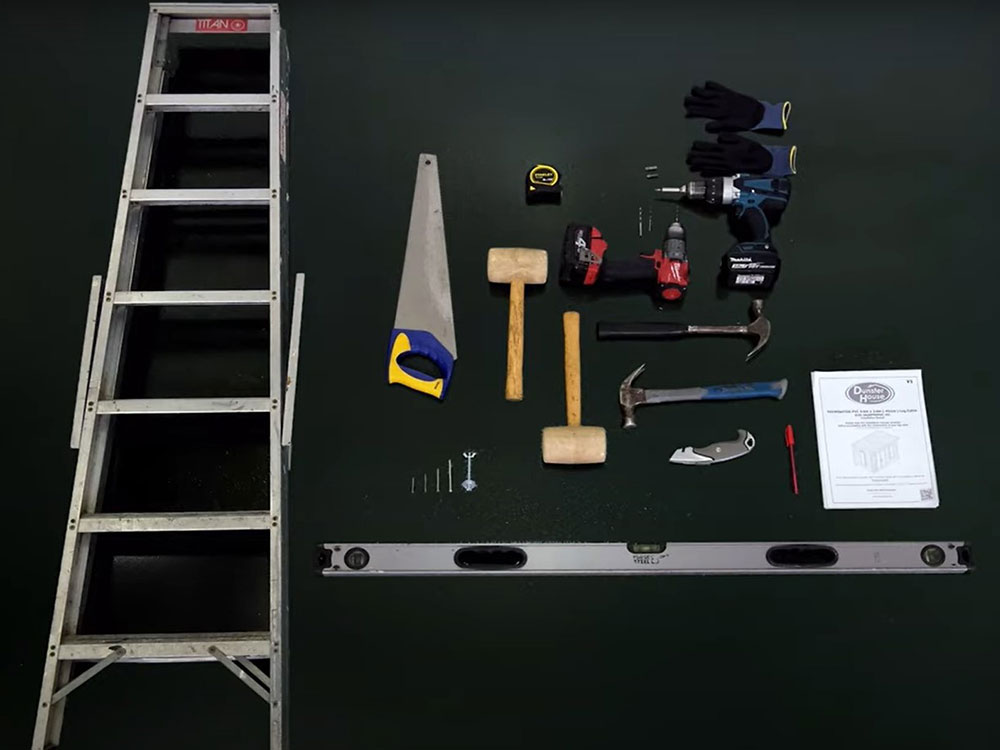
5. Double the Tools, Double the Fun (and Speed!): Double Your DIY Building Efficiency
While our DIY garden buildings are designed for two or more people to construct safely, we’re talking about doubling up on more than just manpower – we mean tools! Having an extra of each essential tool can significantly speed up your garden building DIY process.
Take drills, for example. Imagine constantly switching between drill bits and screw attachments. Now picture you and your building buddy each having a drill – one pre-drilling holes, the other immediately following up with screws. It’s a game-changer!
DIY Tip: If you’re struggling to borrow tools, hiring tools is a fantastic option too! Places like B&Q and National Tool Hire offer a wide range of equipment for rent, whether you need it for a day, a weekend, or even longer. It’s a cost-effective way to boost your garden building DIY efficiency.
Bonus Tip: Enjoy the Journey!
You’re about to have your very own Dunster House garden room – how brilliant is that?! Embrace the DIY process, have a laugh with your building team, and start dreaming about how you’re going to use your fantastic new space. What colour will you paint it? What will the inside look like? The possibilities are endless!
So there you have it – our top DIY tips for making your garden building DIY project a resounding success. We’re confident that with a little preparation and these handy hints, you’ll be enjoying your new garden retreat in no time. Happy building from all of us here at Dunster House!
Why not check out our Terminator Log Cabin build video?
 Back to blog