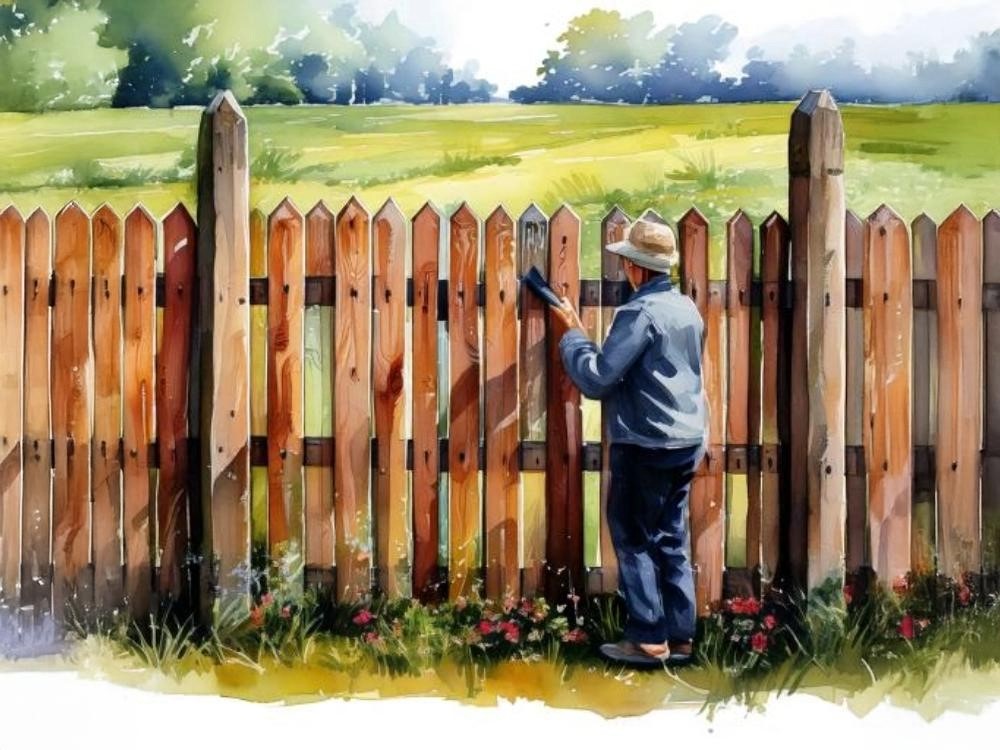
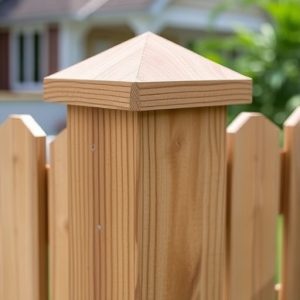
Welcome to Dunster House! If you’re seeking guidance on how to build a fence, you’re in the right place. This comprehensive guide will walk you through the entire process, from the initial planning stages to the final finishing touches. Whether you’re an experienced DIY enthusiast or a novice builder, you’ll find all the information you need to successfully complete your fence project.
Contents
- Planning Your Fence
- Tools and Materials Needed
- Preparing the Ground
- Installing Fence Posts
- Attaching Fence Panels
- Attaching Fence Slats
- Finishing Touches and Maintenance
Planning Your Fence
Proper planning is crucial when it comes to building a fence. This section will help you consider all the key factors to ensure your project is a success. Read the whole guide before you start building.
Assessing Your Requirements and Space
Begin by determining the purpose of your fence—privacy, security, or aesthetics. Measure the area where the fence will be installed, taking note of any slopes, obstacles, or property boundaries. This assessment will help you determine the amount of materials needed and plan the layout effectively.
Choosing the Right Type of Fence
With various fence types available, choose one that best suits your needs and preferences. Consider factors such as the desired level of privacy, levels of light and shade, maintenance requirements, and the overall style of your property. Ensure that your choice complements the aesthetics of your home and garden.
Checking for Planning Permissions
Before starting your fence project, check if you need planning permission. Generally, your fence can be 2 meters high without needing planning permission. This height includes trellis tops and capping rails. However, if you are building next to a highway used by vehicles or the footpath of a highway, then you will need planning permission for a fence exceeding 1m. Should you have a garden building look into the planning permission about where to locate it in relation to your fence. Dunster House products are carefully designed so from our sheds and log cabin to our gazebos and pergolas you will find that the majority of our product allow you freedom of placement.
Contact your local planning department or visit their website to understand the regulations regarding fence installation in your area in more detail. This is especially important if planning permission for your property is usually stricter. For instance, you live on a listed property or in an area of outstanding natural beauty.
Property Boundaries
Title plans only show general boundaries, and previously made border agreements are more binding (even if not made by you). Where you see a T mark with the top of the T facing your property on plans, boundary upkeep is your responsibility.
The preconceived notion that the left (or right) hand boundary is the responsibility of a specific property owner is false. It is best to speak with your neighbour about property boundaries and installing a fence, as you can agree on where to place it, and you may need access to their property.
By carefully considering your requirements, choosing the appropriate type of fence, and ensuring compliance with planning permissions, you’ll be well-prepared to begin your fence-building journey.
Tools and Materials Needed
Having the right tools and materials is essential for a successful fence-building project. This section will outline the necessary tools, types of fencing materials, and how to calculate the amount of materials required.
Here are the essential tools you’ll need:

- Post Hole Digger or Spade
- Tape Measure
- Wooden Stakes
- Spirit Level
- Hammer
- Screwdriver
- Saw
- Drill
- Mixing Bucket
- Mixing Stick
These tools will help you dig holes, measure accurately, ensure a level installation, and securely fasten the components of your fence. Building a fence requires having these tools on hand.
Next, let’s discuss the materials. Depending on your preferences, budget, and the purpose of the fence, there are two main options: fence panels and fence slats. You can add different design aspects to these, such as trellises.
Panels and slats both have their own advantages and considerations, so select the one that best suits your needs when planning how to build a wood fence. From a design standpoint, slats allow you more flexibility, but when it comes to ease of construction, fence panels are the winner.
Lastly, you’ll need to calculate the amount of materials required for your fence. This includes determining the number of posts, panels, and other components needed based on the length and height of your fence (in the list below the common size for that material has been included where applicable). Consider factors like gate openings and any slopes in the terrain. It’s advisable to consult a professional or use online calculators to ensure accurate measurements.
Materials you may need to complete your project:
- Fence Posts – 4” x 6’ x 4” (10cm x 1.80m x 10cm)
- Fence Panels – 6’ x 6’ x 2” (1.80m x 1.80m x 50mm)
- Fence Slats 4” x 6’ x 2″ (10cm x 180cm x 50mm)
- U/L Brackets
- Concrete – Post-crete or Fast Drying Concrete – ¾ of a bag or one bag per post
- Screws or/and Nails (Outdoor Use)
- Gravel Boards
With the right tools and materials, you’ll be well-prepared to build a fence that meets your requirements and enhances your outdoor space.
Preparing the Ground
Proper ground preparation is essential for a stable, level, and long-lasting fence. Follow these key steps to prepare the ground:
Marking the Fence Line
Begin by marking the line where you want your fence to go. Use stakes and string to create a straight line, ensuring it follows the boundary or desired area. This is an important part of learning how to put up a fence.
Clearing the Area
Once you have marked the fence line, clear the area of any vegetation, debris, or obstructions that may hinder the fence installation. This will provide a clean and level surface for your fence.
Measuring and Marking Post Positions
Measure the distance between each post along the fence line. Typically, fence posts are spaced between 6 and 8 feet apart. Use a tape measure and mark the positions for the posts using stakes or spray paint.
By taking these steps to prepare the ground, you’ll create a solid foundation for your fence installation. A well-prepared ground helps ensure the stability and longevity of your fence.
Installing Fence Posts
Installing fence posts is a crucial step that ensures the stability and durability of your fence. This section will guide you through digging post holes, setting posts in concrete, and ensuring the posts are level and evenly spaced.
Digging Post Holes
Mark the locations where the posts will be placed. Use a post-hole digger or a spade to dig holes. Your holes should be a third of the height of your fence as a general rule. This may fluctuate slightly based on factors such as your soil type.
Setting Posts in Concrete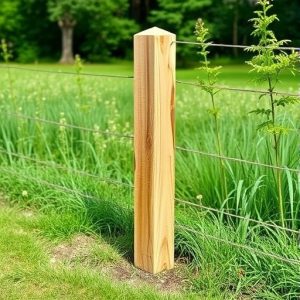
Once the post holes are dug, set the posts in concrete or post-crete. Having an extra pair of hands for this stage of the fence build would be helpful.
Ensure the posts are properly aligned and level before pouring the concrete. Mix your concrete usually in the ratio of 2L of water to 20kg of concrete but for more accurate measurement ratios check with the manufacturer’s guide for your concrete. Make sure to tamp your concrete once you’ve poured it in to remove any air bubbles.
You will have time while your concrete dries to give your fence posts light taps to ensure they are completely level. Then slightly slope the concrete away from the post to reduce the risk of wood rot. Allow the concrete to cure completely before proceeding to the next step.
Following these steps will ensure that your fence posts are installed correctly, providing a solid foundation for your fence.
Attaching Fence Panels
Attaching fence panels is an essential step in building a sturdy and visually appealing fence. This section covers cutting fence panels to size, securing panels to posts, and ensuring panels are level.
Securing Panels to Posts
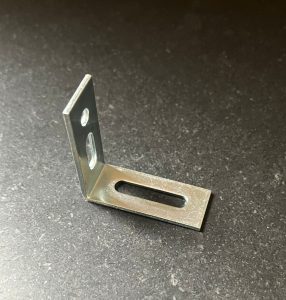
Position the first panel against the first two posts and use screws or nails to fasten it securely. Ensure the panel is level using a spirit level, and adjust as necessary. Repeat this process for each panel, ensuring they are evenly spaced and aligned. Alternatively, you can screw U or L brackets to the fence posts and slot the panels into place.
Make sure you leave a gap of 150mm for your gravel board. This will protect your fence from water damage, and if you have hills in your garden, these can be cut to follow it. In the case of significant slants to your garden, you may wish to consider fence slats instead of panels.
Ensuring Panels are Level
Ensuring that the fence panels are level is crucial for a professional-looking finish. Use a spirit level to check the vertical alignment of each panel or place a guideline at the top of your posts (and ensure it is level) then place your panels to align with the string. If a panel is not level, adjust the screws or nails until it is perfectly straight.
You could also cut your gravel board at the angle of your garden before securing your fence panels. Be aware that the gravel board will need to be treated again if you decide to do this.
Attaching Fence Slats
Fence slats are a versatile option for building a fence, as they allow you to adjust your fence to the topography of your land and give you more options for the design of your fence.
Measure up
Decide on the overlap you’d like your fence slats to have, then cut a block of wood to the size of the remaining space. This will prevent you from having to stop and measure every time you fit a slat. Simply line the edge of the block up with the edge of the slat, and you’ll get a consistent overlap.
Securing Slats to Posts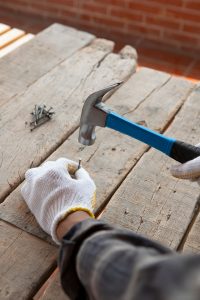
How you do this will depend on whether you’ve opted for a horizontal or vertical configuration. For a horizontal configuration, it is a straightforward process of screwing each slat to the post after you have measured where it should go.
The vertical configuration for slats will require you to add notches to your fence posts; this is so you can add arris rails (about 3 – evenly spaced – for a 1.8m fence) to secure your slats. We would suggest adding a counter batten at the top of your fence as this will not only increase your fence’s stability but can also act as a levelling guide.
After you have secured your rails to your fence posts, line up your slats by using your pre-cut block. As you position each slat either nail or screw it into the rails, you can use the guideline string at the top to help them stay level.
Make sure you leave a gap of 150mm for your gravel board. This will protect your fence from water damage – extra points if it is pressure treated. If you have hills in your garden, these can be cut to follow it.
Ensuring Slats are Level
If you have already fixed the slats to the posts before ensuring they are level you can use a spirit level and mark with a pencil at the point the slats would be level. Then cut the excess off. Alternatively, you can use the counter batten as a guide and cut along that (provided it is straight and level). Should you need to cut your timber to keep it level ensure you treat the timber to prevent water damage.
Finishing Touches and Maintenance
After successfully building your fence, adding the finishing touches and performing regular maintenance is essential to ensure its longevity. Here are some important steps to consider:
Capping
Capping is a fantastic way to finish your fence. Not only does it look great, but it also provides the added bonus of helping to protect your fence and increase its longevity. You can find capping rails for your panels/slats and caps for your posts online, from timber merchants and in hardware stores such as Wickes.
Applying Protective Coatings
To protect your fence from weathering and decay, apply a protective coating. This will not only enhance the appearance of your fence but also extend its lifespan. Choose a high-quality wood stain or paint designed for outdoor use.
Before applying the coating, clean the surface of your fence and allow it to dry completely. Follow the manufacturer’s instructions for application and reapply the coating as needed.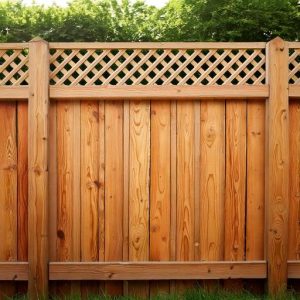
Adding Gates or Decorative Elements
Enhance the functionality and aesthetic appeal of your fence by adding gates or decorative elements. Gates provide easy access to your property while maintaining security. Choose from various gate styles and materials, such as wooden or metal gates, to complement your fence design. Additionally, decorative elements like finials, or lattice panels can add a touch of elegance to your fence.
Regular Maintenance Tips to Ensure Longevity
To keep your fence in optimal condition, regular maintenance is essential. Here are some tips to follow:
- Inspect your fence regularly for any signs of damage or wear.
- Repair any loose boards, nails, or screws promptly.
- Clean your fence periodically to remove dirt, debris, and mildew. Use a mild detergent and a soft brush or sponge to scrub the surface.
- Trim any vegetation around your fence to prevent it from touching the wood and causing potential damage.
- Check for signs of insect infestation and take appropriate measures to address the issue.
By following these steps, you can ensure that your fence remains in excellent condition for years to come. This is an integral part of knowing how to build a fence and maintain it.


