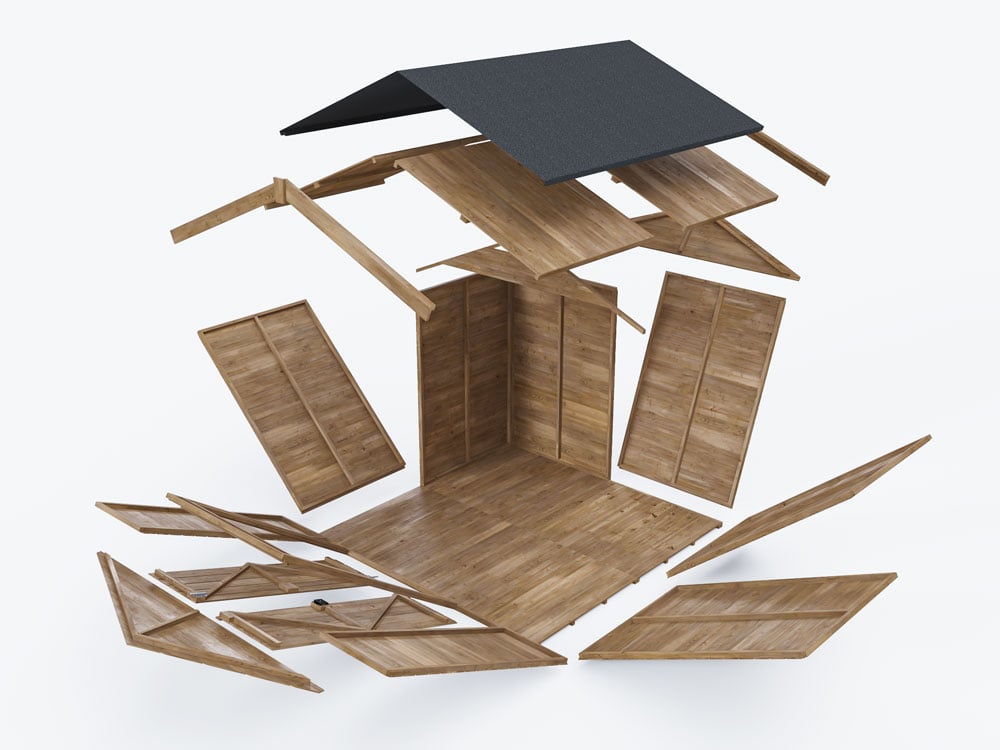
Many of you will want to dismantle your shed (that’s why you’re here, after all). Quite frankly, we can’t blame you. Whether you’re taking down your old shed to replace it with your brilliant new Dunster House shed or you’re moving and need to take your Dunster House shed with you, we’ve got you covered.
Contents
- Preparing for Your Shed Dismantling
- Removing Trims and Roof Felt
- Taking Off the Roof
- Disassembling the Walls
- Taking Up the Floor
- Costs
1. Ready, Shed, Go!
Right now let’s focus on the ready section. Gather your tools and your original instruction manual (and maybe a cup of tea and a biscuit – for fuel) and get deconstructing. If it is a Dunster House Shed that you are dismantling you can find a copy of your instruction manual by logging in to the customer portal. As with the construction process, you will need two people to dismantle your shed.

Tools needed:
- Electric Drill
- Flathead screwdriver
- Hammer
- Step ladder
- Personal Protective Equipment (PPE) – Gloves, Safety Goggles and Mask
- Tarpaulin
- Sealable bags
- Pen
Clear the area so that you have a safe working environment. To further this safety, we would recommend wearing your PPE throughout the deconstruction process. Lay out your tarpaulin so that you will have somewhere to put the pieces of shed you dismantle as you go. Whether you are moving your shed or removing an old one it pays to be organised.
2. Start at the End
Begin with removing your facia boards, this will require your screwdriver and potentially your step ladder. Place the removed facia boards on the tarpaulin. Removing the facias will allow you to access the rest of the building.
The wall trims should be removed as this will make some of the future processes easier. For Dunster House sheds we instruct people to nail their wall trims to the building. Should your nails be moderately nailed in you may be able to remove them with just yourself and a hammer. You can do this by using the claw (back) of the hammer to pry them out of the wood.
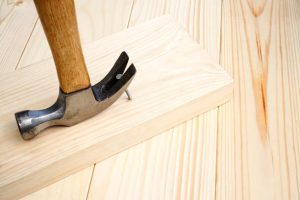
However, should your nails be firmly nailed in place you will need to use your screwdriver, as well as your hammer. To do this work your flathead screwdriver between the nail head and timber and hammer the end of the screwdriver. Then force the nail out of the timber enough to get the claw of your hammer in place to pry the nail out. Alternatively, you could use a nail puller.
Get rid of your felt! To remove your felt you can use the same process to take out the nails as suggested above. We would recommend you replace this old felt with new felt as this will affect the waterproofing on your shed.
As you progress with your deconstruction you can collect the screws should you judge them to be in good knack. However, we would recommend getting new screws, as this will ensure they aren’t damaged from either construction or deconstruction.
3. The roof
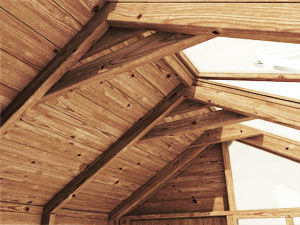
Once your roof boards have been exposed by the removal of the felt, it will be time to unscrew the roof boards. For this, you will definitely require both members of the deconstruction team, a ladder and a drill.
As you unscrew your roof boards make sure that one of the dismantling team is holding it in place, so that you can remove it together safely. Next up is removing the roof supports/trusses and finials. These require a similar process of removal to the roof boards.
4. Let your walls come down
Now that you have that sorted, let’s open the door to the next step. Yeah, it’s removing the doors. This will consist of removing the door from the shed and the metal work from the door. For this, your drill will be required. To collect the metal work, use the sealable bags and label them should you be planning to reconstruct your shed.
The top-down approach:
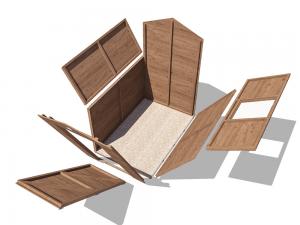
For the removal of the shed walls start by unscrewing the top sections of the shed, whilst you unscrew the wall panels, ensure that your partner holds the wall firmly in place. This is to make sure everyone is kept safe (no walls falling on anyone’s head). Leave the corners until last, if at all possible, as these will stabilise each other. Carefully place them on the tarpaulin.
Should one of your sheds have a window panel handle it with an extra amount of care. Wall panels with windows should be placed on the top of any piles or placed safely to the sides so they don’t smash.
5. Get on the Floor
Tear up the floor (only sort of literally) – more accurately carefully unscrew and take up the floor. This will make it easier to either move to its new location or take it to the recycling station. As another option, you could use the salvageable parts of your shed to upcycle into new DIY builds.
Costs

This process should cost you very little bar your time. This is if you decide to do it yourself. Potential costs you may face:
- Hiring a handyman
- Hiring tools
- New components or/and screws
- Fuel to transport the shed
- Tool costs
Voila! In 5 simple steps you can dismantle a shed with the best of them. So to recap: prepare your tool, team and work area; start from the top and work your way down; consider the cost. Moving your Dunster House shed and need to reassemble it? Check out our help guide with advice for DIY Garden Buildings!
Disclaimer – This guidance is based on a Dunster House Shed


