

Contents
- Why You Should Paint Your Garden Building
- Choosing the Right Paint and Tools
- Preparing Your Garden Building for Painting
- Guide to Painting
- Care and Maintenance
- When You Should Paint Your Garden Building
Why You Should Paint Your Garden Building
Benefits of Painting
The protection that treatment offers is one of the main benefits of painting your garden building. You can protect surfaces from the effects of any weather, whether rain or shine, by using certain protective paints or stains. Layers of paint also act as a barrier to insects and rodents and can help fill in small gaps that can act as an entry point for pests. When buying paint for your garden it would be wise to select one with mould and fungal protection if possible.
Another advantage of adding treatment is aesthetics. Not only does healthy wood look much better, but you can choose colours to compliment your personal style and the rest of your garden.
Protecting Timber
The location and positioning of your garden building are important for protecting the timber. It should be away from trees. We would also suggest you leave a two-metre gap away from the boundary of your property. This not only helps to comply with building regulations (not that you need to for many Dunster House products) but will also allow you room to treat and retreat your garden building.
Choosing the Right Paint and Tools
Primer Choice
Your primer choice will depend on your individual preference, needs and the condition of the timber making up your garden building. Oil-based primers are a good choice across the board but we wouldn’t advise using them inside your building.
Paint/Stain Choice
When picking the colour for your log cabin we provide a visualiser at the bottom of the product page where you can lay over the main and trim colours so you can see what each paint/stain combination will look like. We made our paint and stain choices selectable at the customisable stage of most of our products.
The paint we have selected as our choice is Protek PremiumPlus Block Treatment. This is a water-based treatment that contains linseed oil with roughly a 5-year lifespan, that protects against mould and fungus.
Water-based Paint and Stains Benefits:
- Drying time
- Odour
- Environmental impact
- Easier cleaning
We have selected two stains that we recommend for use on our garden buildings: Barrettine Premium Coloured Treatment and Protek Timber Eco Shield. These are both water-repellent stains and are transparent to show the grain of the wood.
Solvent-based/Oil-based Paint and Stains Benefits:
- Durability
- Sheen
Why You Shouldn’t Use Ordinary Paint on Wood
Wood paint is created to be flexible enough to contort with the natural contraction and expansion. Paint not specifically made for wood can also mean your timber can’t “breathe” and water can easily penetrate and become trapped, without being dealt with it will cause wood rot.
Tools
 Paintbrushes are good for detail work – grooves, joints, corners and crevices.
- Rollers can be used to smooth out the paint and achieve an even finish. It is also a faster application method.
- Masking tape can be used to protect the windows from paint.
- Paint trays make access to paint easier and allow a more even coat of paint to be distributed across your paintbrush or roller.
- Paint tray liners are great for moving between trims and main body paint without having to halt your progress.
Preparing Your Garden Building for Painting
Repair Damages and Cracks
Filling in cracks, splits and holes can be done using a few methods, each method has its own advantages and disadvantages.
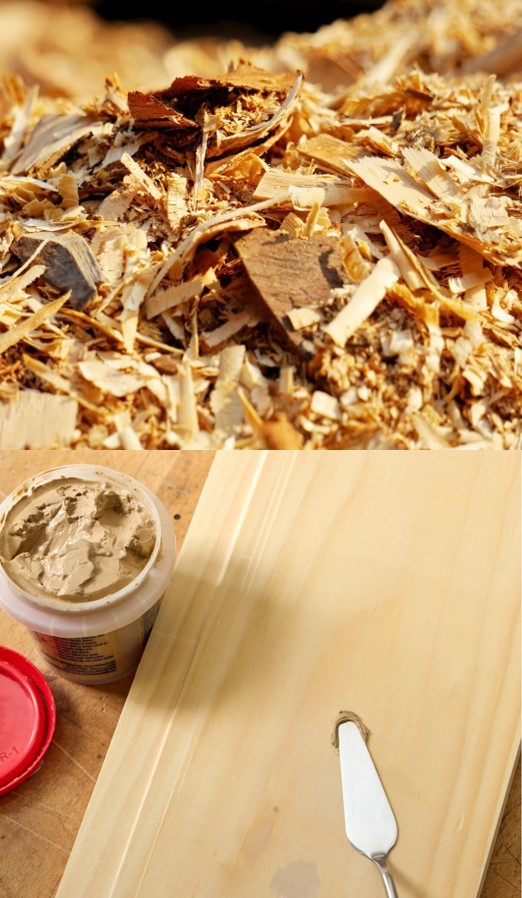
- Wood glue and sawdust – This is the most economical method and will give you a close match in colour to the original colour and paint can be applied over it. However, it can be hard to sand down if you’re using a softwood (spruce is a softwood). This is because the wood will sand down more easily than the glue/sawdust mix. Additionally, the glue means that stains don’t permeate the crack so they will present the timbers’ original colour.
- Resin – This proves good for solving structural problems and outer faults as you can get resin in putty form and mould it into a substitute for a piece of wood. Resin can also make your building stronger and they take stains as well as paint. However, resin can take a long time to set and you will need to take the weather into account or a waterproof cover close to hand. Also if you are using a liquid resin (not a putty) it is hard to let it fully seep in and it needs to be completely watertight (which can be hard to achieve).
- Wood filler – This is another one of the options that takes stain paints. It is still a good idea to colour-match your product’s timber (spruce wood filler is available online) as the stain will dye the wood filler to the same degree. It is not structural and is made for a purpose (filling in gaps and splits).
There are a few ways to rectify natural defects in timber. Using clamps and weights to realign the timber is the main method for dealing with warping and twisting. Rectification of faults should be completed before building; once your building has been built, the weight of the building should correct any of these faults. If needed, you can loosen the storm braces to allow the wood to shift into place.
Clean and Sand
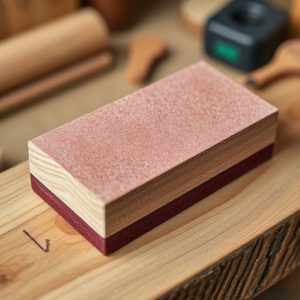
Use soapy water to clean and then leave to dry completely. It is important that your timber is completely dry or you risk trapping the water in and rotting the wood. Then sand the wood of the garden building to ensure you have an even surface to paint on.
For recently constructed builds, cleaning and sanding may not be necessary. It will depend on if they got dirty during the construction process and/or if there are any rough or uneven surfaces.
Applying Primer
Whether you need to apply paint/stain primer will depend on the treatment you choose. The paint that we recommend for your garden building (link to paint choice internally) will not require a primer. You can discover whether your choice of treatment needs a primer through the paint provider.
You will also need a primer if the wood you are working with is chalky, stained or highly alkaline. If you are moving from a darker colour to a lighter one or from glossy to a sheen using a primer will make this process easier. The finish after using primer can be more durable and seamless.
Guide to Painting
As a general rule trims should be painted before the main building if you are opting for a different trim and main colour.

1. Prepare your garden building to be painted by following the aforementioned steps.
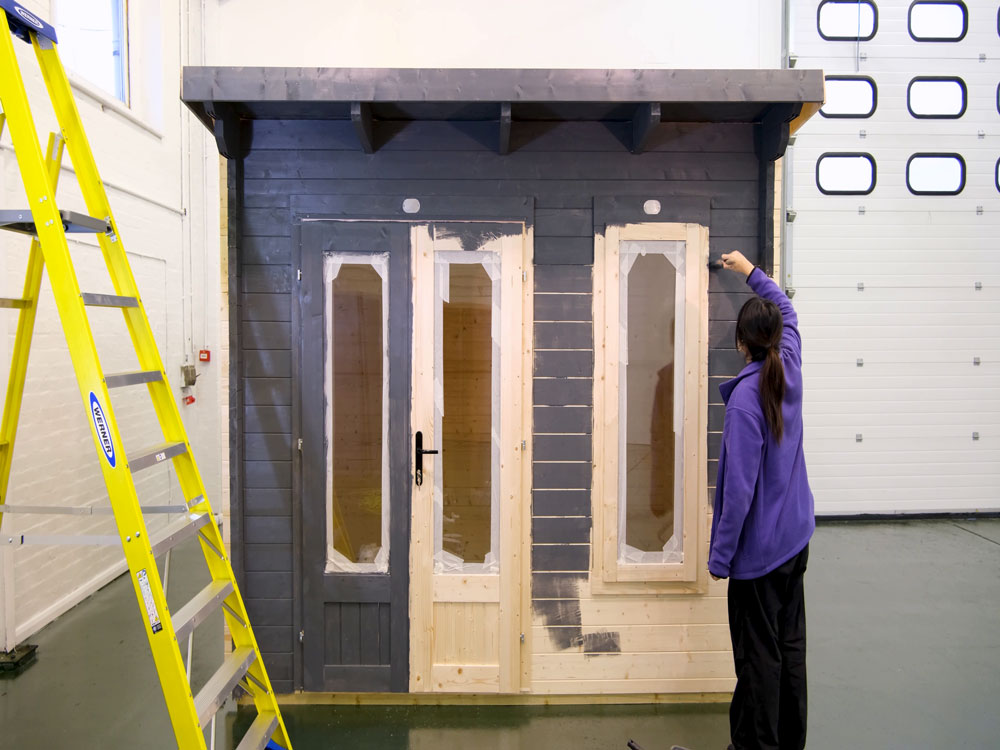
2. Take off metalwork (you’ll need to get the treatment under the metalwork) and tape up windows to stop paint from getting on them (if it does wipe it off immediately). Having done this you can paint the trims of your garden building.
3. Start with the grooves and crevices by using a paintbrush to ensure your treatment gets in all the gaps.
4. Next use your roller to spread the paint easily across the garden building – start from the top of the garden building and work your way down. Complete each wall, one at a time, before moving on to the next wall.
5. Waiting between painting the next coats. The amount of time you will need to wait will differ depending on the thickness of the paint application and accounting for the weather moisture content and humidity.
6. Apply your other coats by repeating the aforementioned process.
7. For an extra layer of protection you can add a top coat. Whether you need to do this will depend on the treatment you have selected.
Care and Maintenance
Inspect paint
If your paint begins peeling it is a sign that you will need to paint your garden building anew. Discolouring in your paint could, also, be a sign that you need to replace your treatment.
Touching up
You can normally retouch areas of your garden building instead of repainting them to fix small and minor flaws. You shouldn’t do this if the paint is more than a year old and may not want to retouch your paint if it is in a visible place.
To fix your paint without having to repaint the whole wall:
- Clean your wall with a damp soapy cloth and leave it to dry.
- Sand down the area in need of repair.
- Repair any splits or gaps and sand the section you need to retouch down.
- Colour match your paint.
- Apply a small amount of paint in the middle and paint outwards. You can use a small roller, a small brush or a touch-up paint pen. Should you choose the paintbrush consider using the feathering technique (blending the edges of old and new paint).
Reapplication Timing
We would recommend you reapply your treatment every 3-5 years. However, when you should reapply you treatment will vary based on multiple factors such as location, paint quality, weather, general maintenance and upkeep, etc.
Cleaning Tools
 The cleaning process will differ slightly based on the type of paint you use when painting your garden building.
Water-based paint – water and soapy water immediately after use so it does not have time to dry and set. Should you leave your paintbrush and it ends up drying try soaking them in warm water. If you use a natural bristle brush linseed oil can help restore its softness.
Oil-based/Solvent-based paint – solvents (paint thinners, turpentine or mineral spirits) are the best method for taking oil-based paint off of your paint brushes. After doing this, rinse it all off with warm water. Then wash it with soapy water and rinse it again. If this process doesn’t remove all the paint the first time you can repeat this process.
When You Should Paint Your Garden Building
Time after rainfall should be accounted for to allow the wood to fully dry as it is a porous material – the day after rainfall should be sufficient.
Depending on the brand of paint or stain you decide to use, painting in direct sunlight isn’t wise, as UV rays can break down the natural binding agent of the paint.


 Back to blog