

How do I lay a concrete base for a shed?
A garden shed is a must for any home. Keep your garden tools, furniture, bikes and machinery out of sight and protected from bad weather. For the perfect storage shed, look for good quality timber, something pressure-treated to ensure low maintenance and longevity, and with quality windows to allow light in to find what you are looking for. Now, as much as your shed is designed to protect its inhabitants, it also needs protecting itself. First things first, it needs a concrete base to sit on. There are many ways to lay a shed base but in order to make sure it is going to provide proper support for your garden building you should follow these important steps.
1. Choose your spot
Depending on what style and size you have chosen for your shed, there are different things to consider when selecting its location in your garden. A pent shed can fit nicely into a neat corner or small space. If backed into a fence you might find you get build-up of debris on the roof. Apex larger sheds might suit you better, but sizes must be measured out specifically.
2. Choose your base type
A flat and level concrete base is the ideal garden shed foundation. If you already have paving slabs or a decked area that you want to place your shed, that is also a great idea. Alternatively, have designed an excellent foundation system to work well with our garden buildings: Premium RapidGrid. With any base, the most important thing is that it is flat, square and one hundred percent level. There is no need to add a run-off of any kind.
.png)
If you choose to use a concrete base, continue to follow these steps…
3. Mark out your area
When preparing a concrete base, the first thing you need to do is mark out the area that you will be using. We recommend that the base is the same size as the external dimensions of your shed plus an additional 100mm on all sides.
4. Dig your foundations
You might wish to excavate some foundations for your concrete base, approximately 200mm deep for the base to sit in. This helps to flatten the surface, and you should use a spirit level to make sure that it is completely straight, flat and a level base.
5. Add compacted hardcore
Many customers like to add a layer of well-compacted hardcore at the bottom of the foundations to pour the concrete onto. If you choose to do so, you may need to use some timber to frame the hardcore and hold it in place.
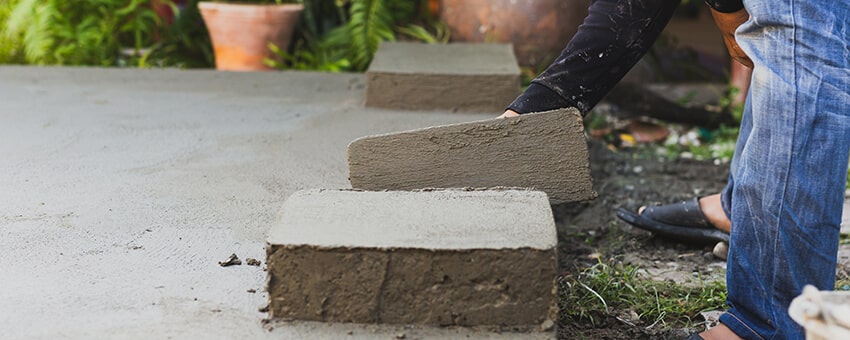
6. Pour on the concrete
Once you have mixed the concrete, you can then add the concrete mixture. Be sure to level it off using spare timber or some tools. Many customers decide to get a local builder or handyman to lay the concrete for them.
.jpg)
7. Double, Triple Check
If your base is not completely square and level, the build of your shed will be more difficult. You may even find that your shed develops problems in the long term. Double check this using a spirit level, and then proceed with the easy panel-system or log build of your shed, before finishing off with the roofing felt and organising your garden items inside it.
If, despite reading all of that you are still unsure, we do offer another solution… why not check out how RapidGrids could potentially be the solution you are looking for?
For more information on our range of pressure treated garden sheds, get in touch with our Team on 01234 272445.


 Back to help centre